How to Get Started with Beach Photography (It’s Easier Than You Think!)

Feature Image Suggestion:
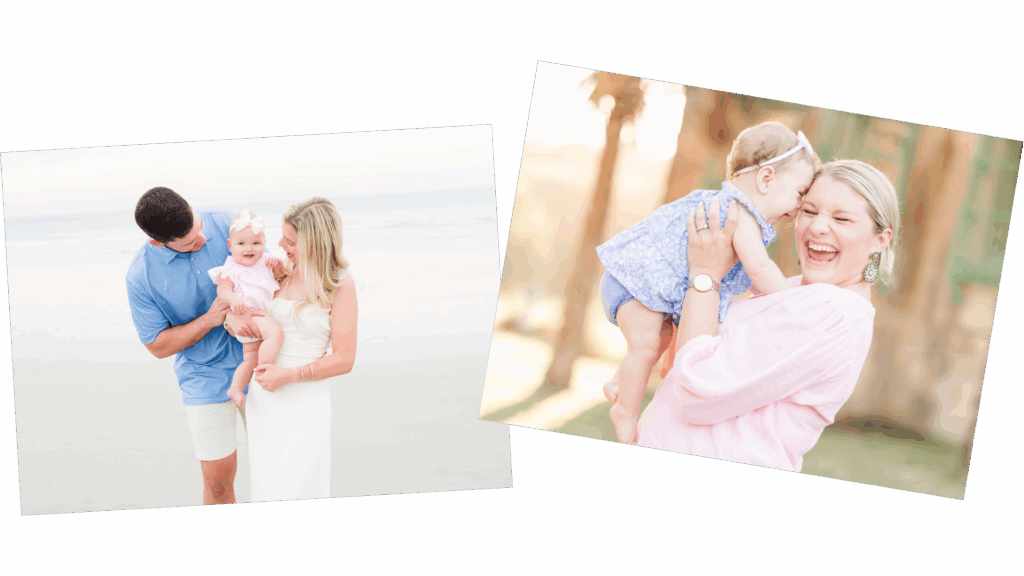
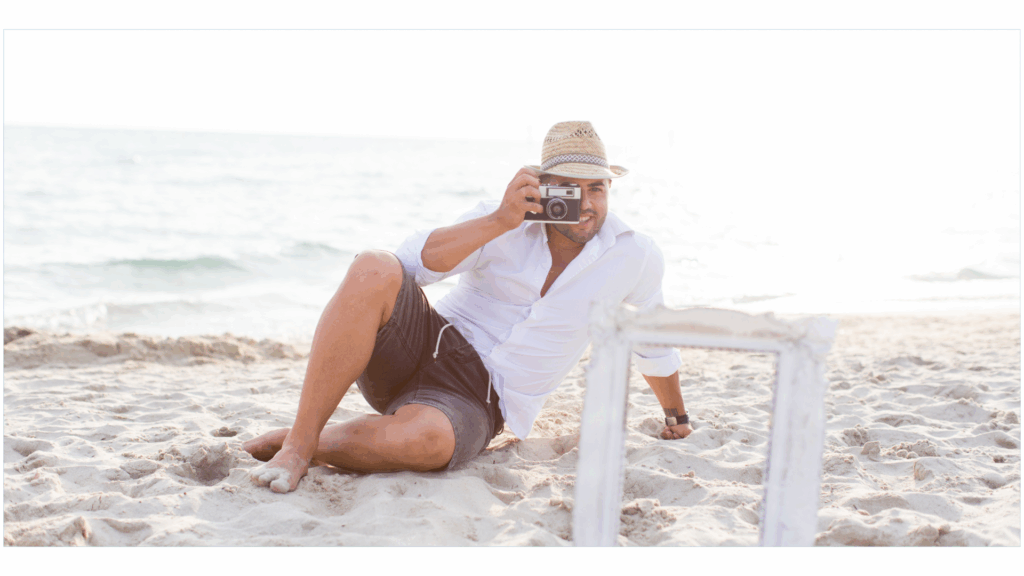
- A beginner photographer at the beach, holding a camera and looking inspired.
- OR a before-and-after comparison of an amateur beach shot vs. a well-executed professional image.
Introduction: Stressed About Beach Photography? Let’s Make It Easy and Fun!
Beach photography sounds like a total dream, right!!? Soft golden light, stunning ocean backdrops, and those light & airy portraits that just feel magical. But then… BOOM… you try to capture that perfect shot, and suddenly, it’s not so dreamy after all!!
The light’s too harsh, the wind’s throwing a tantrum, and your camera settings? Not cooperating. If you’ve ever felt completely lost at the beach, trust me, you’re not alone! Every great beach photographer (yep, including me!) had those same “uh-oh” moments when they first started.
But here’s the good news! Beach photography doesn’t have to be a struggle. With the right tips and tricks, you can photograph stunning, light-filled portraits, even if you’re just starting out! Ready to dive in? Here’s exactly what you need to know to crush it at your next beach session!
Step 1: Choose the Right Time to Shoot
Choosing the right time of day for your beach photoshoot is a total game-changer! Why? Well, let’s talk about light.
If you’re shooting in the middle of the day, the sun can be harsh, which means overexposed skies, crazy shadows, and squinty clients. Not the vibe you want, right? And, let’s not forget, beaches tend to get way more crowded during the day plus it’s hot!
Now, let’s chat about the golden hours! These are the best times for capturing dreamy, light-filled portraits on the beach.
Sunrise – Early mornings are soft, calm, and full of peaceful magic. The light is super flattering, there’s usually way less wind (hello, beachy hair goals!), and the beach is quiet with no crowds in sight. Just don’t forget, the sun rises fast over the ocean, so be on time and always check the sunrise time. It changes every day!
Sunset – In the evening, the light turns warm and golden, giving you that romantic, glowy look we all love. It’s perfect for wrapping the day with a little photo magic. But don’t let the word “hour” fool you, it’s not a full hour of golden light! So use your time wisely, prep ahead, and double-check those sunset times too!
Both are beautiful, it really just depends on the vibe you’re going for!
But, here’s the kicker: it all depends on your style. If you’re going for soft, airy, and dreamy, you’ll want to hit that golden hour, either at sunrise or sunset. If you’re okay with a bit of challenge and want some depth and color, midday can work, just look for open shade, natural reflectors like piers, dunes, or umbrellas.
At the end of the day, it’s all about consistency and what fits your style. So, whether you’re chasing that golden light or playing with midday shadows, just make sure to pick the right time for the look you’re after. It’s about working with the light to capture your best photos, every time and what is convenient and works for your client’s comfort!
Pro Tip: If you are planning a sunrise session at a park or special location, always double-check the hours of operation before asking a client to meet you there. You do not want to show up ready to shoot and find out the park is closed. Trust me, that is not how you want to start a session!
Quick Recap: Best Times to Shoot at the Beach
- Golden Hour – Soft, flattering light (right after sunrise or before sunset)
- Cloudy Days – Like a natural softbox, great for even skin tones
- Midday – Toughest light to work with. If you have to shoot, find shade near dunes or piers
Midday VS. Golden hour
Step 2: Master the Right Camera Settings
Okay, real talk: camera settings can feel SO overwhelming when you’re first starting out. You’ve got ISO, aperture, shutter speed, white balance, and somehow they all work together? It’s enough to make your head spin!!
But here’s the thing: you don’t need to know everything about settings to start taking amazing beach portraits. What you DO need is a solid starting point, and that’s exactly what I’m giving you here
Common Beginner Struggles:
- Overexposed backgrounds (hello, completely white sky!) Blown out people
- Blurry subjects (because someone’s always moving!) dirty lens, too many distractions
- Colors that don’t match the vibe (the beach is full of natural tones, don’t fight it!) frustration not to know what you are doing!!!
- Not knowing your style or how to stay consistent with your work
Been there. ALL of that is normal when you’re getting started. But the good news? Most of these problems come down to just a few simple setting adjustments.
The Beach Photography Settings You Need:
Here’s what I recommend as your go-to settings when shooting at the beach:
- Shutter Speed: Aim for 1/1000+ to freeze motion and go even higher (1/2500+) if you’re chasing around active kids.
Why is this good?!
Because it freezes your subject, no motion blur or out-of-focus shots!
For me personally, I never go below 1/400 of a second when shooting at the beach. Trust me, it’s better to stay safe and fast!
- Aperture: Use f/1.2 – f/2.8 for that dreamy, creamy background when you’re shooting individual portraits. For group shots, I recommend going f/2.0 – f/4.0 or even higher to keep everyone in focus.
Quick Tip:
- The lower the aperture number (like f/1.2), the more blur (bokeh) you’ll get in the background but less of your subject will be in sharp focus.
- The higher the aperture number (like f/4.0), the more your scene stays sharp which is especially important for groups!
- The lower the aperture number (like f/1.2), the more blur (bokeh) you’ll get in the background but less of your subject will be in sharp focus.
- ISO: Keep your ISO at 100–200 on sunny days so you don’t end up with grainy shots.
Important!
- The lower your ISO, the better your image quality.
- If it starts getting darker, don’t be afraid to bump it up. It’s better to have a clear shot than a blurry one!
- That said, try not to go above ISO 1600 at the beach if you can avoid it. It just keeps everything crisp and beautiful!
- The lower your ISO, the better your image quality.
- White Balance: Set your white balance between 6000K–7000K for those warm, golden beach tones. You can also just use Cloudy mode if you want consistent warmth across your photos, no stress.
Bonus Tip:
- If you prefer a little more natural, true-to-life color, try setting it around 5700K–6700K
- And honestly? Auto White Balance (AWB) is totally fine too!
If you’re comfortable with it, use it! (It even makes editing easier later.)
- If you prefer a little more natural, true-to-life color, try setting it around 5700K–6700K
Pro Tip: If your sky looks like a bright white mess (also called “blown out”), don’t panic! Just lower your exposure. Bump it down by about 2 stops, expose for your subject first, and bam, problem solved! And don’t be afraid to check the back of your camera! It’s always better to fix it now while you’re shooting, instead of realizing the mistake later when it’s too late.
Start with these settings and adjust from there:
- ISO 100-200
- Shutter Speed 1/400+ (Always higher. Never lower.)
Aperture f/1.2–f/4.0 (Depending on the size of the group.)
Step 3: Choose the Right Lens (And Keep It Simple!)
Here’s the truth: you do not need to haul around five different lenses to nail a beach shoot. One solid lens is all it takes, if you choose the right one for the job.
After photographing everything from wild toddlers to big extended families on the beach, I’ve learned that simplicity is your best friend. You want a lens that delivers beautiful results and keeps you flexible enough to move, direct, and capture the moment without fiddling with gear the whole time.
Best Lenses for Beach Photography:
- 50mm f/1.2 (or f/1.8 if you’re on a budget): This is my go-to lens for portraits, whether it’s seniors, families, or couples. It gives you that beautiful, dreamy background blur (bokeh) and is perfect for tight shots.
- 85mm f/1.2: If you want that gorgeous compression and dreamy background blur for portraits, this one is a total game-changer! Seriously, the photos this lens produces are magic. Perfect for groups of 1-3 people.
- 28-70mm f/2: This lens is a total beast (and heavy!), but it’s super flexible. It’s great for group shots and allows you to zoom in or out quickly. It’s a bit of a workout carrying it around, but the results are totally worth it!
Quick Note:
- I’m a Canon user, and these are Canon lenses I personally love! (If you’re using a different brand, check for similar focal lengths.)
Lenses to Avoid as a Beginner:
- Super wide-angle lenses: While they’re fun for landscapes, they can distort portraits, which is not ideal for those close-up shots you’re after.
- Telephoto lenses over 200mm: These can be bulky, unnecessary for beach portraits, and make it harder to interact with your clients (plus, they’re a pain to carry).
Pro Tip: If you only bring one lens to the beach (and let’s be real, you don’t want to haul a bunch of gear around), the 50mm f/1.2 (or f/1.8) is your best bet. It’s lightweight, versatile, and does amazing things for portraits.
The Gear Rule: You don’t need to drag a ton of fancy lenses to the beach. And whatever you choose, protect it! Avoid switching lenses out on the beach (sand = no fun for your camera) and pick a lens that suits your shoot. For a large family of 10+, that 85mm might not be ideal, but the 50mm or a zoom lens like the 28-70mm will save you from running around too much.
Keep it simple, and you’ll be good to go
Step 4: Master Simple, Natural Posing Techniques
Posing doesn’t have to be stiff or awkward, especially at the beach, where the whole vibe should feel light, relaxed, and real.
I always start every beach session with the “everyone look and smile” shot. Why? Because it’s fast, easy, and gets everyone feeling like, “Okay, we got the ‘safe shot.’” Once that’s out of the way, you can move into the good stuff, those candid, natural, joy-filled moments that make your photos come alive.
And here’s the key: movement is magic. The beach is meant for motion, that is walking barefoot in the sand, wind in the hair, little ones running wild and your posing should work with that, not against it.
Why This Matters:
Every beach photoshoot starts with that classic “everyone look and smile” shot, get it out of the way first while everyone’s still happy and cooperating! Start with that smiling shot (it’s quick and easy) and then move into the more fun, relaxed poses. Have a list of core shots in your head and tick them off as you go, in this way, you’ll get the essentials and then have time to play!
Stiff, unnatural posing sticks out like a sore thumb, especially on the beach, where the vibe should be relaxed and carefree. Movement-based posing creates those effortless, candid moments that make your photos feel alive.
Easy Posing Tricks for Beginners:
- Start with the large group shots while everyone is happy and cooperative.
- Break it down from there – get shots of smaller family units or just the kids, and wrap up with fun, candid shots.
- Move around to capture a variety of angles and perspectives.
- Have your clients walk along the shore for a relaxed, flowing look.
- Encourage some fun movement – have them play with their dress, run fingers through their hair, or hold hands.
- For kids, let them jump, spin, or play in the sand for those true, authentic expressions.
Use Prompts, Not Poses
One of the best ways to create natural expressions is to give prompts, not directions. Instead of saying “Stand here and smile,” try:
- “Whisper something silly in their ear.”
- “Pretend you’re in a slow-motion race to the water.”
- “Look at each other like you’re about to burst out laughing, but DON’T laugh yet!!”
Pro Tip: If posing feels awkward (for you or your clients), try playing some soft music from your phone to create a relaxed mood. It’s a small touch, but it can do wonders for getting everyone to loosen up and have fun!
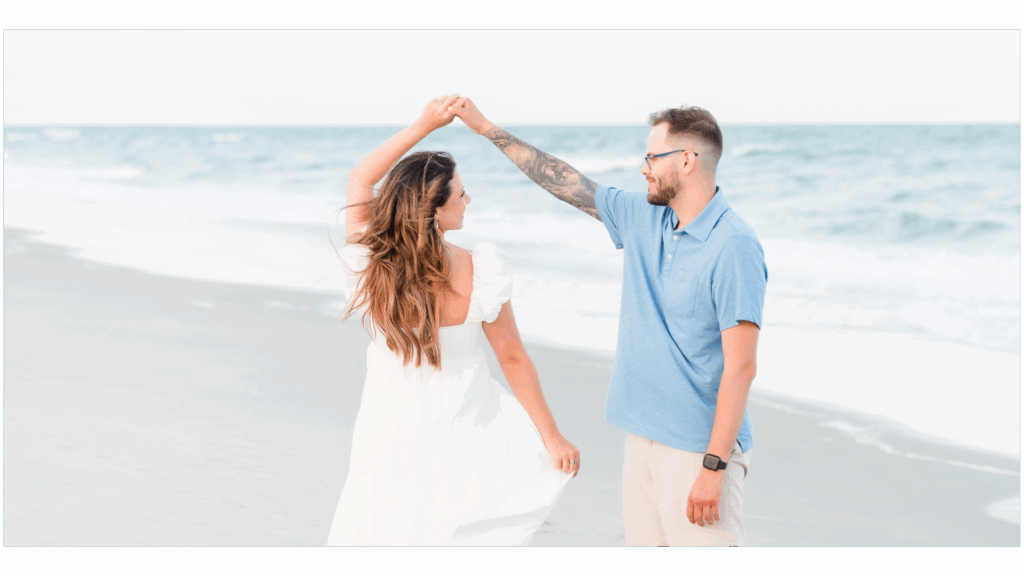
Natural beach portrait with relaxed posing and movement.
Step 5: Ask Questions and Do Your Research
Here’s the thing: you can have the best gear and the perfect poses, but if you show up unprepared, the whole session can unravel fast.
Whether you’re new to photography or just unfamiliar with a location, doing your homework ahead of time is one of the easiest ways to make sure your shoot runs smoothly. Ask questions. Scout the space. Know what you’re walking into.
Don’t be afraid to ask questions! Whether you’re new to the location or new to shooting at the beach, doing your homework is key. Learn about the location you’ll be shooting at, check for any rules or regulations (especially for private property) and find out what permits might be needed. The last thing you want is to get into trouble while working with paying clients!
The last thing you want is to get into trouble while working with paying clients!

Know the Location Inside and Out: You need to be familiar with the location. Know where the light hits, where you’ll park, and where the bathrooms are. These details might seem small, but they make a huge difference in how smoothly the shoot goes. If you’re shooting at a public beach, get there early so you can scope out the area and claim your spot before it gets crowded.
Check the Rules (Seriously!): Some beaches, especially state parks or popular tourist spots, have rules about professional photography. Don’t assume you can shoot anywhere. Look into whether you need a permit, and check if there are time restrictions or prop limits. The last thing you want is to get stopped or asked to leave mid-session with a paying client. Do the research ahead of time so you’re not caught off guard.


Respect the Environment: Respect the beach! Always follow the rules of the location, whether it’s a national park or a local beach. Respect nature, other visitors, and the environment. Being mindful of this will also help your clients feel at ease and contribute to a smoother session. The last thing you want is to get stopped or asked to leave mid-session with a paying client. Do the research ahead of time so you’re not caught off guard.
Plan for Lighting & Timing: Understand the light at the location and plan for it! When does the light soften? What time is sunrise or sunset? You don’t want to get caught in the harsh midday sun if you’re aiming for dreamy light and soft shadows. Plan your shoots around golden hour or take advantage of shaded areas to get that beautiful, even lighting.

Essential Gear Tips (Protect Your Camera Like a Pro)
The beach is beautiful, but it’s brutal on your gear. Between the salt spray, fine sand, humidity, and direct sun, there are a LOT of ways your camera can take a hit if you’re not prepared.
Here are the must-have tools I swear by to protect your equipment and keep everything running smoothly (here’s the link to my Amazon Store where you can find everything I personally use!):
- UV Filter – Protects your lens from scratches and salt spray. Just screw it on and leave it, it’s an easy way to give your lens a layer of defense.
- Weather-Sealed Camera Bag – Keeps gear safe from moisture, sand, and sudden weather shifts. I always zip it closed, even when I’m just a few feet away.
- Microfiber Cloth + Rocket Blower – You’ll need these to wipe off mist and gently blow away any grains of sand or dust. Don’t rub your lens with your shirt please!!
- Good camera strap! Nothing will be worse than your camera falling in the water because your strap broke!!
What to Avoid
- Changing lenses at the beach that’s why pick one before you arrive! And if you have to change at the beach go somewhere dry and safe you do not want to get sand inside your camera, I promise!
- Leaving your camera in direct sun but keep it in the shade when not in use. And out of sight from strangers who might pick it up!
- Setting your camera directly in the sand but you must ALWAYS place it on a towel, your bag, or anything clean and elevated. Sand in your buttons or ports is a nightmare.
Pro Tip:
If you’re coming from an air-conditioned car, your camera will fog up in the heat and humidity. Arrive early to let your gear adjust before the session begins. (Bonus: you’ll be calmer and more prepped too!)
Beach camera gear protected from sun and sand
Tips for Becoming a Beach Photographer: Get It Right In-Camera & Stay Organized
When you’re starting out as a beach photographer, one of the best tips I can give you is to shoot in-camera as much as possible. Trust me, this will save you HOURS of editing time! Avoid the mindset of, “I’ll just Photoshop that later.” If you focus on getting your shots right from the start, you’ll spend less time in post-processing and more time doing what you love!
For example, instead of planning to remove distractions or brighten shadows later, learn to position your subject away from background clutter and adjust your exposure on the spot. You’ll spend less time editing and more time actually enjoying your images.
Once you get your shots, when it’s time to edit, keep it consistent with your brand and style. Stick to your unique aesthetic so that every image aligns with what you want to show your clients.
And don’t forget to stay organized from day one. Knowing where your images are stored, how to import and export them, and keeping a system for your edits will make your workflow SO much smoother. One more thing: avoid cropping too much. It can affect the image quality, so make sure you’re framing your shots the way you want them right from the start.
And as your business grows, don’t be afraid to tweak and improve your systems. What works when you’re booking 2 sessions a month might not work when you’re shooting 10. Stay flexible and level up as you go!
By following these simple tips, you’ll create professional-quality images that are true to your vision and save yourself time in the process!
Pro Tip:
Shoot in RAW. Always. This gives you more flexibility when editing and helps you preserve detail in tricky lighting (like those bright beach skies!).
Beach portrait edited with consistent style after correct in-camera exposure
Take your Beach Photography
to the next level!
Master the Beach Portrait Like a Pro And Have Fun Doing It!
Look, beach photography doesn’t have to feel overwhelming. Once you know how to guide your clients, stay flexible with the weather, and create a laid-back vibe, everything gets easier (and way more fun!).
If you're ready to feel more confident heading into your next session, I’ve got something for you! I put together a free guide with my go-to tips for light-filled, dreamy beach portraits, plus the things I wish I knew when I was first starting out.
")
")
